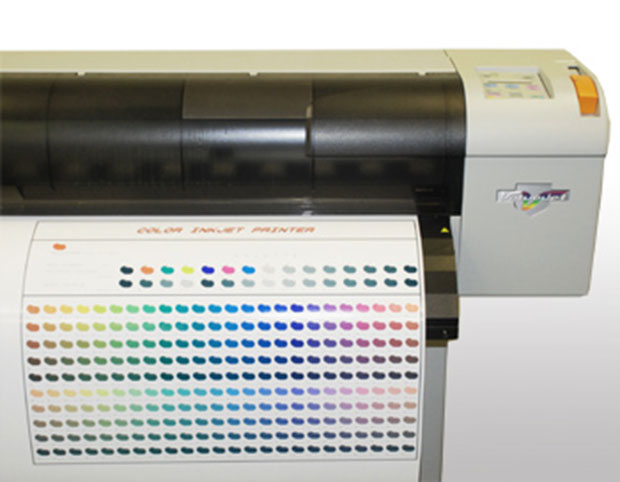
Ensuring your printer remains a dependable page-spitting machine is surprisingly easy and low-cost. Performing these routine maintenance tasks on your printer will not only ensure top-quality printing, but will help you avoid the need for costly professional repairs or replacement. The following maintenance is only for ink-jet printers. Laser printers should never be opened or dissasmebled except by a professional technician.
There are three basic things you should do to keep up your printer
1. Perform head-cleaning and alignment
Your printer comes with programs that automatically do this, and the printer prompts you for this after any ink cartridge replacement. If you are noticing lines are blurs in your print job this should be the first thing you do. Simply access your printer and command it to perform the task. This takes ink and paper–usually one or two pages worth.
2. Print with your Printer
Yes, it may seem silly, but if you don’t frequently use your ink-jet printer it is something to keep in mind. Ink cartridge heads will dry and clog if they are not used weekly. If you don’t have something you really want to print just have the printer shoot out a simple color picture. A small color picture pulled off the internet will use less ink than a full head-cleaning and will help keep your heads from clogging.
3. Dust and Remove Clutter
Keep the space around your printer clean and open. Dust and other small particles can easily get into the printer and clog or damage the heads. Don’t have food or any type of liquid around the printer. Routinely dust and clean the outside surfaces of your printer with rubbing alcohol. Especially clean the feed trays where the paper sits.
Manual Deep Cleaning
Sometimes the basic programs used to clean your print-heads are not enough. In this case it is time to get down and dirty—to physically clean the inside of your printer. Don’t get scared now. It’s not as bad as it sounds.
You will need:
- Rubbing alcohol
- Paper towels
- Copy Machine or sewing machine oil
- Q-tips or similar item
- Latex gloves (optional, but preferred)
Step 1
Remove the ink cartridges. Usually the cartridges come to the removal spot on their own when you lift the lid. Otherwise, run the printer’s ink replacement program.
Step 2
Turn off the power and unplug. Do not lower the lid, because this could cause the cartridge holders to move back to their ready position and we need that to stay open.
Step 3
Fold a paper towel into fourths and put a healthy dose of alcohol on it. Take the print cartridge and gently rub it against the paper towel to wipe off the dried ink, dirt and paper dust on the head. Caution: Avoid touching the metal, circuit-looking parts of the cartridge as this is very likely to damage it.
Step 4
Look inside the printer. Using a new alcohol dampened towel and Q-tips, wipe the inside surfaces of the printer. Especially check the either far left or far right corners where the print cartridges rest in between jobs. This space often becomes matted with dry ink and paper dust to create an ugly black goo.
Step 5
Oil the printer bar with a few drops of oil and then manually move the cartridge holder assembly across the bar to spread the oil.
That’s it! Now carefully replace the cartridges, plug back in, and close the printer.
This article was written on behalf of ThePrinterDepot, where you can find Dallas Printers and a wide selection of high quality new and refurbished printers like the HP 4300n model printer for you.
Basic Cleaning and Ink Jet Printer Maintenance,


Ashok
Nov 30. 2012
Wow so great this Awesome tips, i like your post. thanks to sharing nice informational.
TechCrates
Dec 06. 2012
Thanks!
Ralph Lasson
Dec 11. 2012
Thanks for another helpful guide
sewingmachine
Mar 12. 2014
Thank you for posting. Very helpful.
Donald
Apr 02. 2014
This is full of great information, I have yet to have to deep clean my printer but feel like it is something I should do soon (probably because I’m a student and have to use it frequently). I’ll be sure to keep this article in mind when its time to get it done.