It is easy to think about changing a screen on your home pc, but you probably have never thought that you might as well change your laptop’s screen. And changing your laptop screen is not as complicated as you may think, and it is definitely cheaper than having a specialist having it repaired for you.
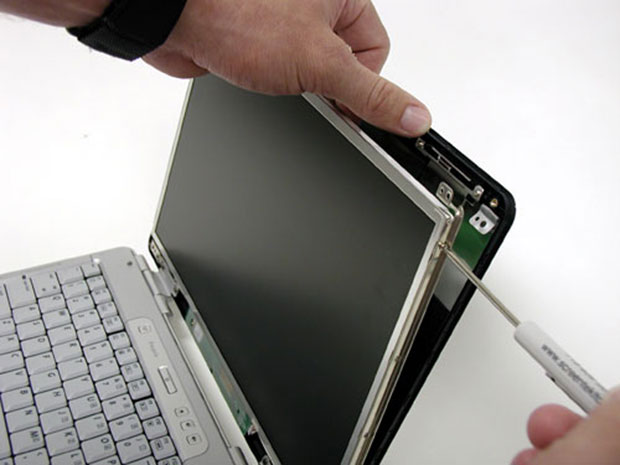
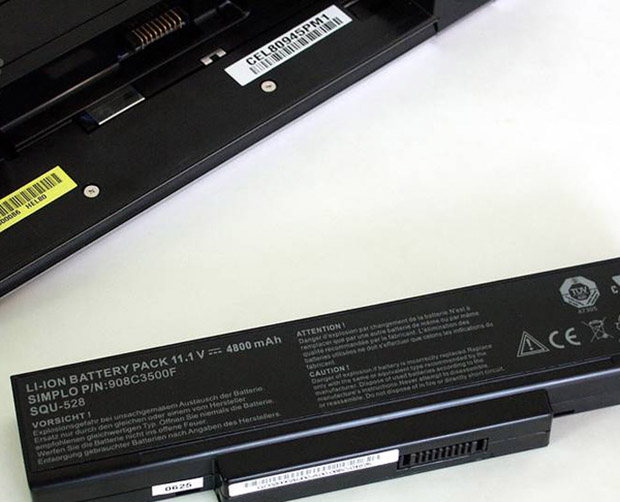
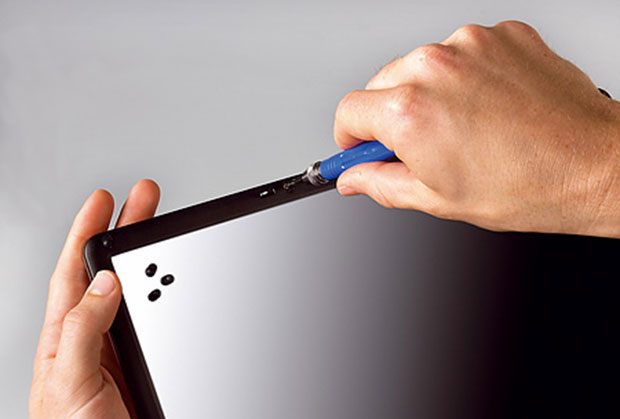
Obviously the first thing to do is plug it off the power and remove the battery. Afterwards you have to remove the old screen. Therefore you have to find the screw covers around your screen to locate the screws. These covers are usually around the screen but may be found on the sides in some laptops. Remove all the covers and screws and then the bezel that covers the metal part that surrounds the screen.

Once you have done that you must check again for any screws that are still holding the screen to the rest of the computer and remove them. After you have unplugged all the cables that still link the screen to the computer, you will be able to set the screen free and have a look at the type of screen you have. Now you will have to search for a similar screen or dismount it from a used laptop you may find.

There are companies that just sell the screens but the cheapest option is to look for used laptops and pick one with a similar screen. Make sure you choose one that has exactly the same characteristics or one where you are sure that both the cables that you will have to reconnect and the frame of your laptop will fit.
Once you have your new screen it will be as easy as following these steps backwards and try it out. If you did everything right you will have a completely new screen for your laptop, and ready to use.
Just be careful with the micro electronic of your laptop to avoid any kind of damage to cables and connectors of the laptop screen and motherboard. These components are very sensitive. Even natural static charges from your hands can damage these components. Service agents usually use antistatic wrists to protect electronical components from electrostatic damage.
