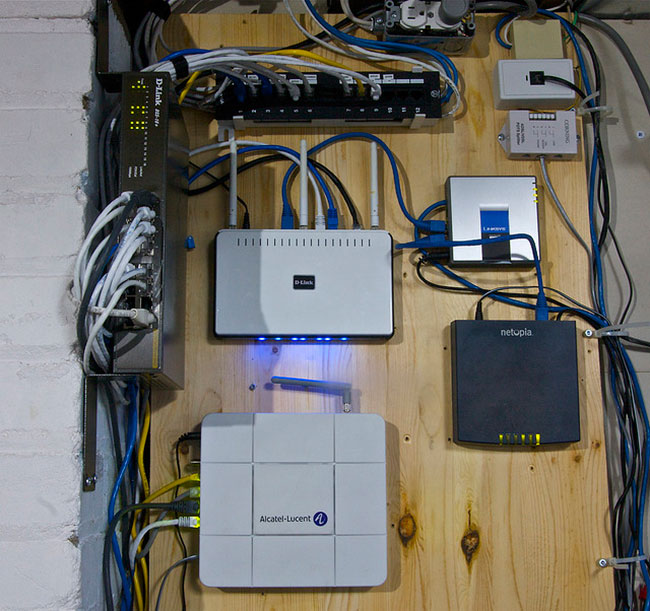
Wireless networks provide the flexibility and mobility most users seek. Imagine printing documents from your kitchen’s computer to your home office or chatting with online friends while relaxing in bed. Thanks to advancements in in technology, connecting to the internet wirelessly is now possible.
You do not need the help of network engineers or tech experts to setup a 
Before you can set up your wireless home network, here are the basic things you will need:
- Ethernet cables,
- A wireless router/modem, and a
- Desktop or laptop computer.
Make sure you have all of these devices on hand before you start setting up your network, which can be done by following these steps:
Steps on Setting up your own wireless home network
Step #1 – Set up the wireless home network router/modem
Connect the wireless router’s Ethernet cable (it is usually blue or yellow) to your modem. Power the router by plugging in its power adapter.
Step #2 – Configure your router’s settings
Establish a connection between your router and computer. Check if its default wireless connection is already on. If you are unable to detect your router, use an Ethernet cable to connect to it.
Open your browser and type http://192.168.0.1 to access your router’s admin panel. You can also type in http://192.168.1.1 on the address bar if the former is not working.
Once you enter your router’s admin page, it will prompt you for a username and password. These can be found in its manual. After filling out the required fields, hit Enter.
Step #3 – Set up the router’s Wi-Fi access settings
Most routers have a Setup Wizard, which helps users set up their connection. Connections like PPPoE require a username and password. You can ask your ISP provider for these details.
On the WAN menu, fill out the SSID field and enter a name for your network. Name it whatever you like but do not include personal information (such as a surname, birthdates or addresses).
After filling these fields out, choose a security protocol for your network. If you intend to let older devices use your network, choose the WEP protocol. For a more robust and secure protocol, WPA and WPA2 are highly recommended.
Make sure to use a complex and strong password which you can easily remember. Set your setting to “Secure” to discourage unauthorised use of your connection.
Step #4 – Configuring your router’s network protocols
This is important as it will determine your network’s speed. The available protocols are 802.11b, 802.11g and 802.11n. Modern routers automatically switch between these three and will assign the right protocol for any device.
On the other hand, IP addressing is used when certain devices need fixed or static IP addresses. If you do not need to assign fixed ones, set it to automatic.
Step #5 – Save your new settings and restart the router
Before you can test your wireless connection, save all your new settings and restart your device. Wait up to a minute before powering on again.
Once it is on, you can now connect your device and start enjoying your wireless network.
Setting up a wireless network is relatively easy and it can be done in just a few easy steps. However, you still need to ensure your connection is secured and optimized. The next section will give you tips on improving and securing your network.
Top tips on improving and securing your wireless home network
Sometimes, you may experience weak wireless signals while at home. These could be brought about by a faulty antennae or unauthorised users. To resolve these concerns, here are some tips to help you improve and keep your network secure:
- Install wireless repeaters to extend your router’s wireless range.
- Check if your router’s antennae is working properly. Replace it when needed.
- Always update your router or modem’s firmware to ensure hardware stability.
- Keep your router away from devices that create wireless interference. These include cordless phones, garage openers and microwave ovens. Wi-Fi modems and routers are susceptible interferences from radio waves and signals.
- Place your wireless router in a central location. A shelf would be an ideal place since it is a higher area.
- An obscure or unique combination of numbers and letters is recommended when creating a password or SSID. Password combination passwords such as “l1nK3d4LyF” or “GuMm13b3rRy” are just some examples of strong SSIDs. Make sure that these passwords are easy to recall.
- Choose a Wireless Protected Access 2 (WPA2) encryption to keep your wireless connection secured. WPA was designed with stronger user authentication and data encryption, which makes it more secure.
- Never broadcast your Service Set Identifier (SSID) to discourage hackers from locating your network. Someone who wants to connect will have to ask for the name from you.
Computers, mobile devices and internet services are becoming more affordable and family-friendly all the time. People are now embracing Information Technology (IT) and applying it in the comfort of their own home, so if you haven’t already, why not give it a go today?
